rclone インストール。
~]# curl https://rclone.org/install.sh | bash ・・・ ・・・ rclone v1.74.3 has successfully installed. Now run "rclone config" for setup. Check https://rclone.org/docs/ for more details.
ローカルの PC で rclone コマンドを使用するため、ローカルの PC にも rclone のインストールが必要。
local:~$ sudo -v ; curl https://rclone.org/install.sh | sudo bash
リモート設定を登録。入力,コメント。
client_id,client_secret は、作成せずに空エンターでも可ですが、パフォーマンスが落ちるとのこと。
作成するのであれば、ご参考まで。→ rclone 用に独自の Google Drive クライアント ID を作成する。
~]# rclone config 2026/06/06 12:05:13 NOTICE: Config file "/root/.config/rclone/rclone.conf" not found - using defaults No remotes found, make a new one? n) New remote s) Set configuration password q) Quit config n/s/q> n Enter name for new remote. name> google-backup ← 任意のリモート設定名 Option Storage. Type of storage to configure. Choose a number from below, or type in your own value. 1 / 1Fichier \ (fichier) 2 / Akamai NetStorage \ (netstorage) 3 / Alias for an existing remote \ (alias) ・・・ ・・・ 23 / Google Cloud Storage (this is not Google Drive) \ (google cloud storage) 24 / Google Drive \ (drive) 25 / Google Photos \ (google photos) ・・・ ・・・ 66 / iCloud Drive and Photos \ (iclouddrive) 67 / premiumize.me \ (premiumizeme) 68 / seafile \ (seafile) Storage> drive Option client_id. Google Application Client Id Setting your own is recommended. See https://rclone.org/drive/#making-your-own-client-id for how to create your own. If you leave this blank, it will use an internal key which is low performance. Enter a value. Press Enter to leave empty. client_id> ⏎ ← 作成していればクライアント ID を入力 Option client_secret. OAuth Client Secret. Leave blank normally. Enter a value. Press Enter to leave empty. client_secret> ⏎ ← 作成していればクライアント シークレットを入力 Option scope. Comma separated list of scopes that rclone should use when requesting access from drive. Choose a number from below, or type in your own value. Press Enter to leave empty. 1 / Full access all files, excluding Application Data Folder. \ (drive) 2 / Read-only access to file metadata and file contents. \ (drive.readonly) / Access to files created by rclone only. 3 | These are visible in the drive website. | File authorization is revoked when the user deauthorizes the app. \ (drive.file) / Allows read and write access to the Application Data folder. 4 | This is not visible in the drive website. \ (drive.appfolder) / Allows read-only access to file metadata but 5 | does not allow any access to read or download file content. \ (drive.metadata.readonly) scope> 1 Option service_account_file. Service Account Credentials JSON file path. Leave blank normally. Needed only if you want use SA instead of interactive login. Leading `~` will be expanded in the file name as will environment variables such as `${RCLONE_CONFIG_DIR}`. Enter a value. Press Enter to leave empty. service_account_file> ⏎ Edit advanced config? y) Yes n) No (default) y/n> n Use web browser to automatically authenticate rclone with remote? * Say Y if the machine running rclone has a web browser you can use * Say N if running rclone on a (remote) machine without web browser access If not sure try Y. If Y failed, try N. y) Yes (default) n) No y/n> n Option config_token. For this to work, you will need rclone available on a machine that has a web browser available. For more help and alternate methods see: https://rclone.org/remote_setup/ Execute the following on the machine with the web browser (same rclone version recommended): rclone authorize "drive" "eyJjbxxxxx" ← ※1 Then paste the result. Enter a value. config_token> ← ※2 Configure this as a Shared Drive (Team Drive)? y) Yes n) No (default) y/n> n Configuration complete. Options: - type: drive - scope: drive - token: {"access_token":"ya29.xxxxx","expiry":"2026-06-06T13:16:10.992982584+09:00","expires_in":3599} - team_drive: Keep this "google-backup" remote? y) Yes this is OK (default) e) Edit this remote d) Delete this remote y/e/d> y Current remotes: Name Type ==== ==== google-backup drive e) Edit existing remote n) New remote d) Delete remote r) Rename remote c) Copy remote s) Set configuration password q) Quit config e/n/d/r/c/s/q> q
※1 ローカルの PC でココのコマンドを実行する。
local:~$ rclone authorize "drive" "eyJjbxxxxx" ・・・ ・・・
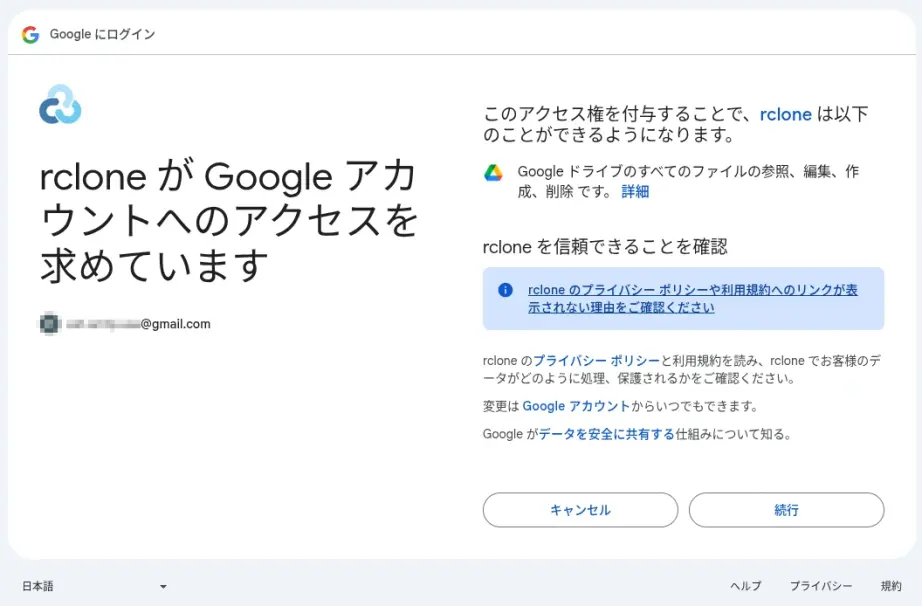
ブラウザが立ち上がり Google のログイン画面となるので、ログイン。続行。
最終的には「Success!」と表示されて、端末上には以下のようにトークンが表示されているので、それを※2にコピペ。
・・・ ・・・ Paste the following into your remote machine ---> eyJ0bxxxxx <---End paste
【Rclone 基本操作】
BACKUP ディレクトリを作成。
~]# rclone mkdir google-backup:/BACKUP
確認。
~]# rclone lsd google-backup: -1 2020-11-28 12:55:06 -1 BACKUP
コピーしてバックアップをとる。
(-P/--progress:リアルタイムの転送統計を表示する)
~]# rclone copy /path/to/dir/website.tar google-backup:/BACKUP/ -P Transferred: 2.407M / 2.407 MBytes, 100%, 264.357 kBytes/s, ETA 0s Transferred: 1 / 1, 100% Elapsed time: 9.9s
確認。
~]# rclone ls google-backup:/BACKUP/ 2524097 website.tar